Help / Manual
Basic Instruction
Getting started
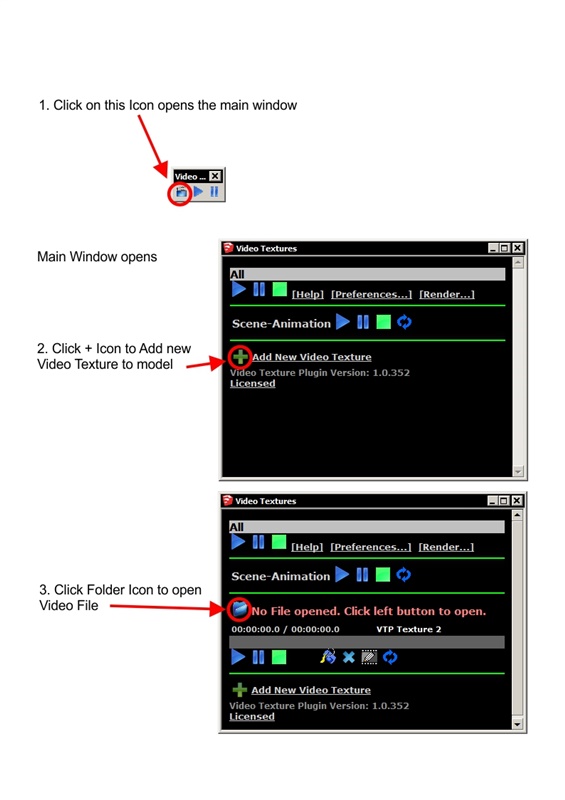
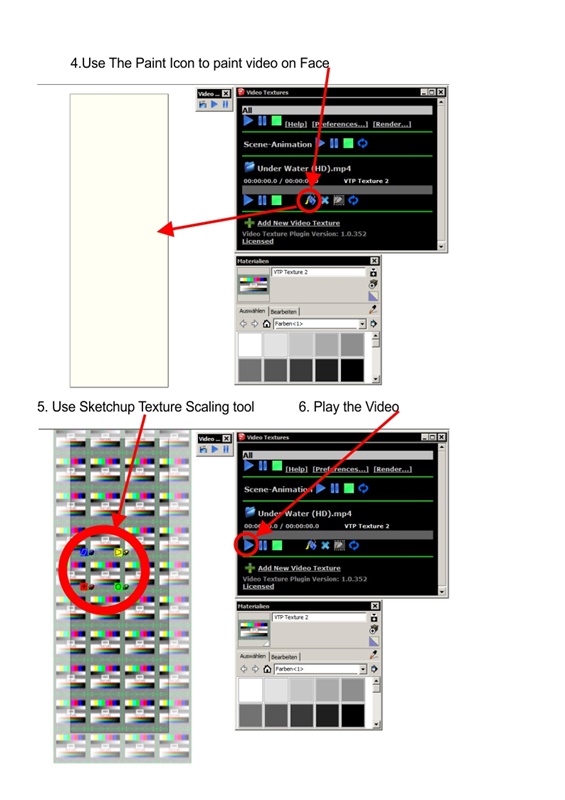
As soon as the plugin is installed you should get a tiny "Video Textures" window with 3 icons. You can move/dock this into your tool-bars. In case you close it, you can find it again in the Toolbars menu/window. The leftmost icon opens the video textures window. Click "Add new Video Texture" (for as many as you need) , then click the folder icon in each entry, to open a video file for each video texture. Use the paint bucket icon (per video texture) to apply the texture to a surface. Click the play button to start the video. Enable looping (rightmost button) if desired.
The video texture window can be closed, videos will continue to run. It can be reopened as initially described. The other two buttons in the tool-bar that look like play and pause can be used to play and pause all videos, even while the video textures window is closed.
Note: While videos are playing, starting scene animations the usual way does currently not work , use the Scene-Animation buttons in the video texture window to play the Scene-Animation instead.
Do not use the standard File -> Export -> Animation function to render output videos with video textures playing , use the [Render] function in the video textures window.
This all doesnt apply if you have no videos playing in a model.
Howto Video
This video shows everything from how to download , how to install the plugin , and how to basically use it.
If you have any questions, please Contact us
|